
how to grow your own garlic
Allium sativum
garlic is an easy plant for your first venture into growing your own gourmet food. very little time goes into maintaining these bulbs that produce the reward of complex, rich, and beautiful flavors that put store-bought garlic to shame.

the basics
you can grow garlic for fresh eating and keep plenty for “seed garlic” to plant in the fall. it’s a great way to get a bountiful harvest in a small garden space. garlic is divided into two main categories: “hardneck” & “softneck.” hardneck varieties are generally superior in flavor & have a broader range of flavor, but don’t store as well. softneck varieties store longer & are easy to braid.
garlic should be planted in september, october, & november (4-6 weeks before the ground freezes). fall=planted garlic will be ready for harvest in june-july
getting ready to plant
divide bulbs into individual cloves; leaving the skins intact. take care not to damage the tips. choose the largest cloves from your largest bulbs for planting & keep the smaller ones for eating or cooking.
soil preparation
plant in full sun with well-drained soil high in organic matter [try using a compost blend, or amend your soil with living mulch]. fertilize prior to planting with garden tone or bone meal & blood meal. plant in rows 12” apart. don’t plant garlic where onions have been in the last 2 years.
planting
cover the top of each clove with 1”-2” of soil. space cloves 6”-8” apart. mulch 2”-3” deep with clean straw or pine soil conditioner to prevent the bulbs from heaving out of the soil as a result of winter freezing & thawing. this also helps prevent weed growth. water thoroughly & maintain adequate moisture.
*note: elephant garlic should be covered with a 4”-6” layer of soil and planted in rows 8”-12” apart.
care
spring - summer : water only when exceptionally dry. feed in early spring (mid-late march) using espoma garden tone or plant tone at a rate of 3.5lbs per 50ft or bone meal at a rate of 1lb per 50ft + bone meal at a rate of 2lbs per 50ft. garlic stops actively growing leaves & begins bulb development in early-mid may. a good date to remember is ky derby weekend; feed with bulb tone at a rate of 1.5lbs per 25ft or bone meal at a rate of 1lb per 25ft.
“popping tops”
remove woody flower stalks that may appear, primarily on hardneck garlic. cut where the stalks emerge from the leaves. this can increase bulb size by 10%. these scrapes can be used like fresh garlic.
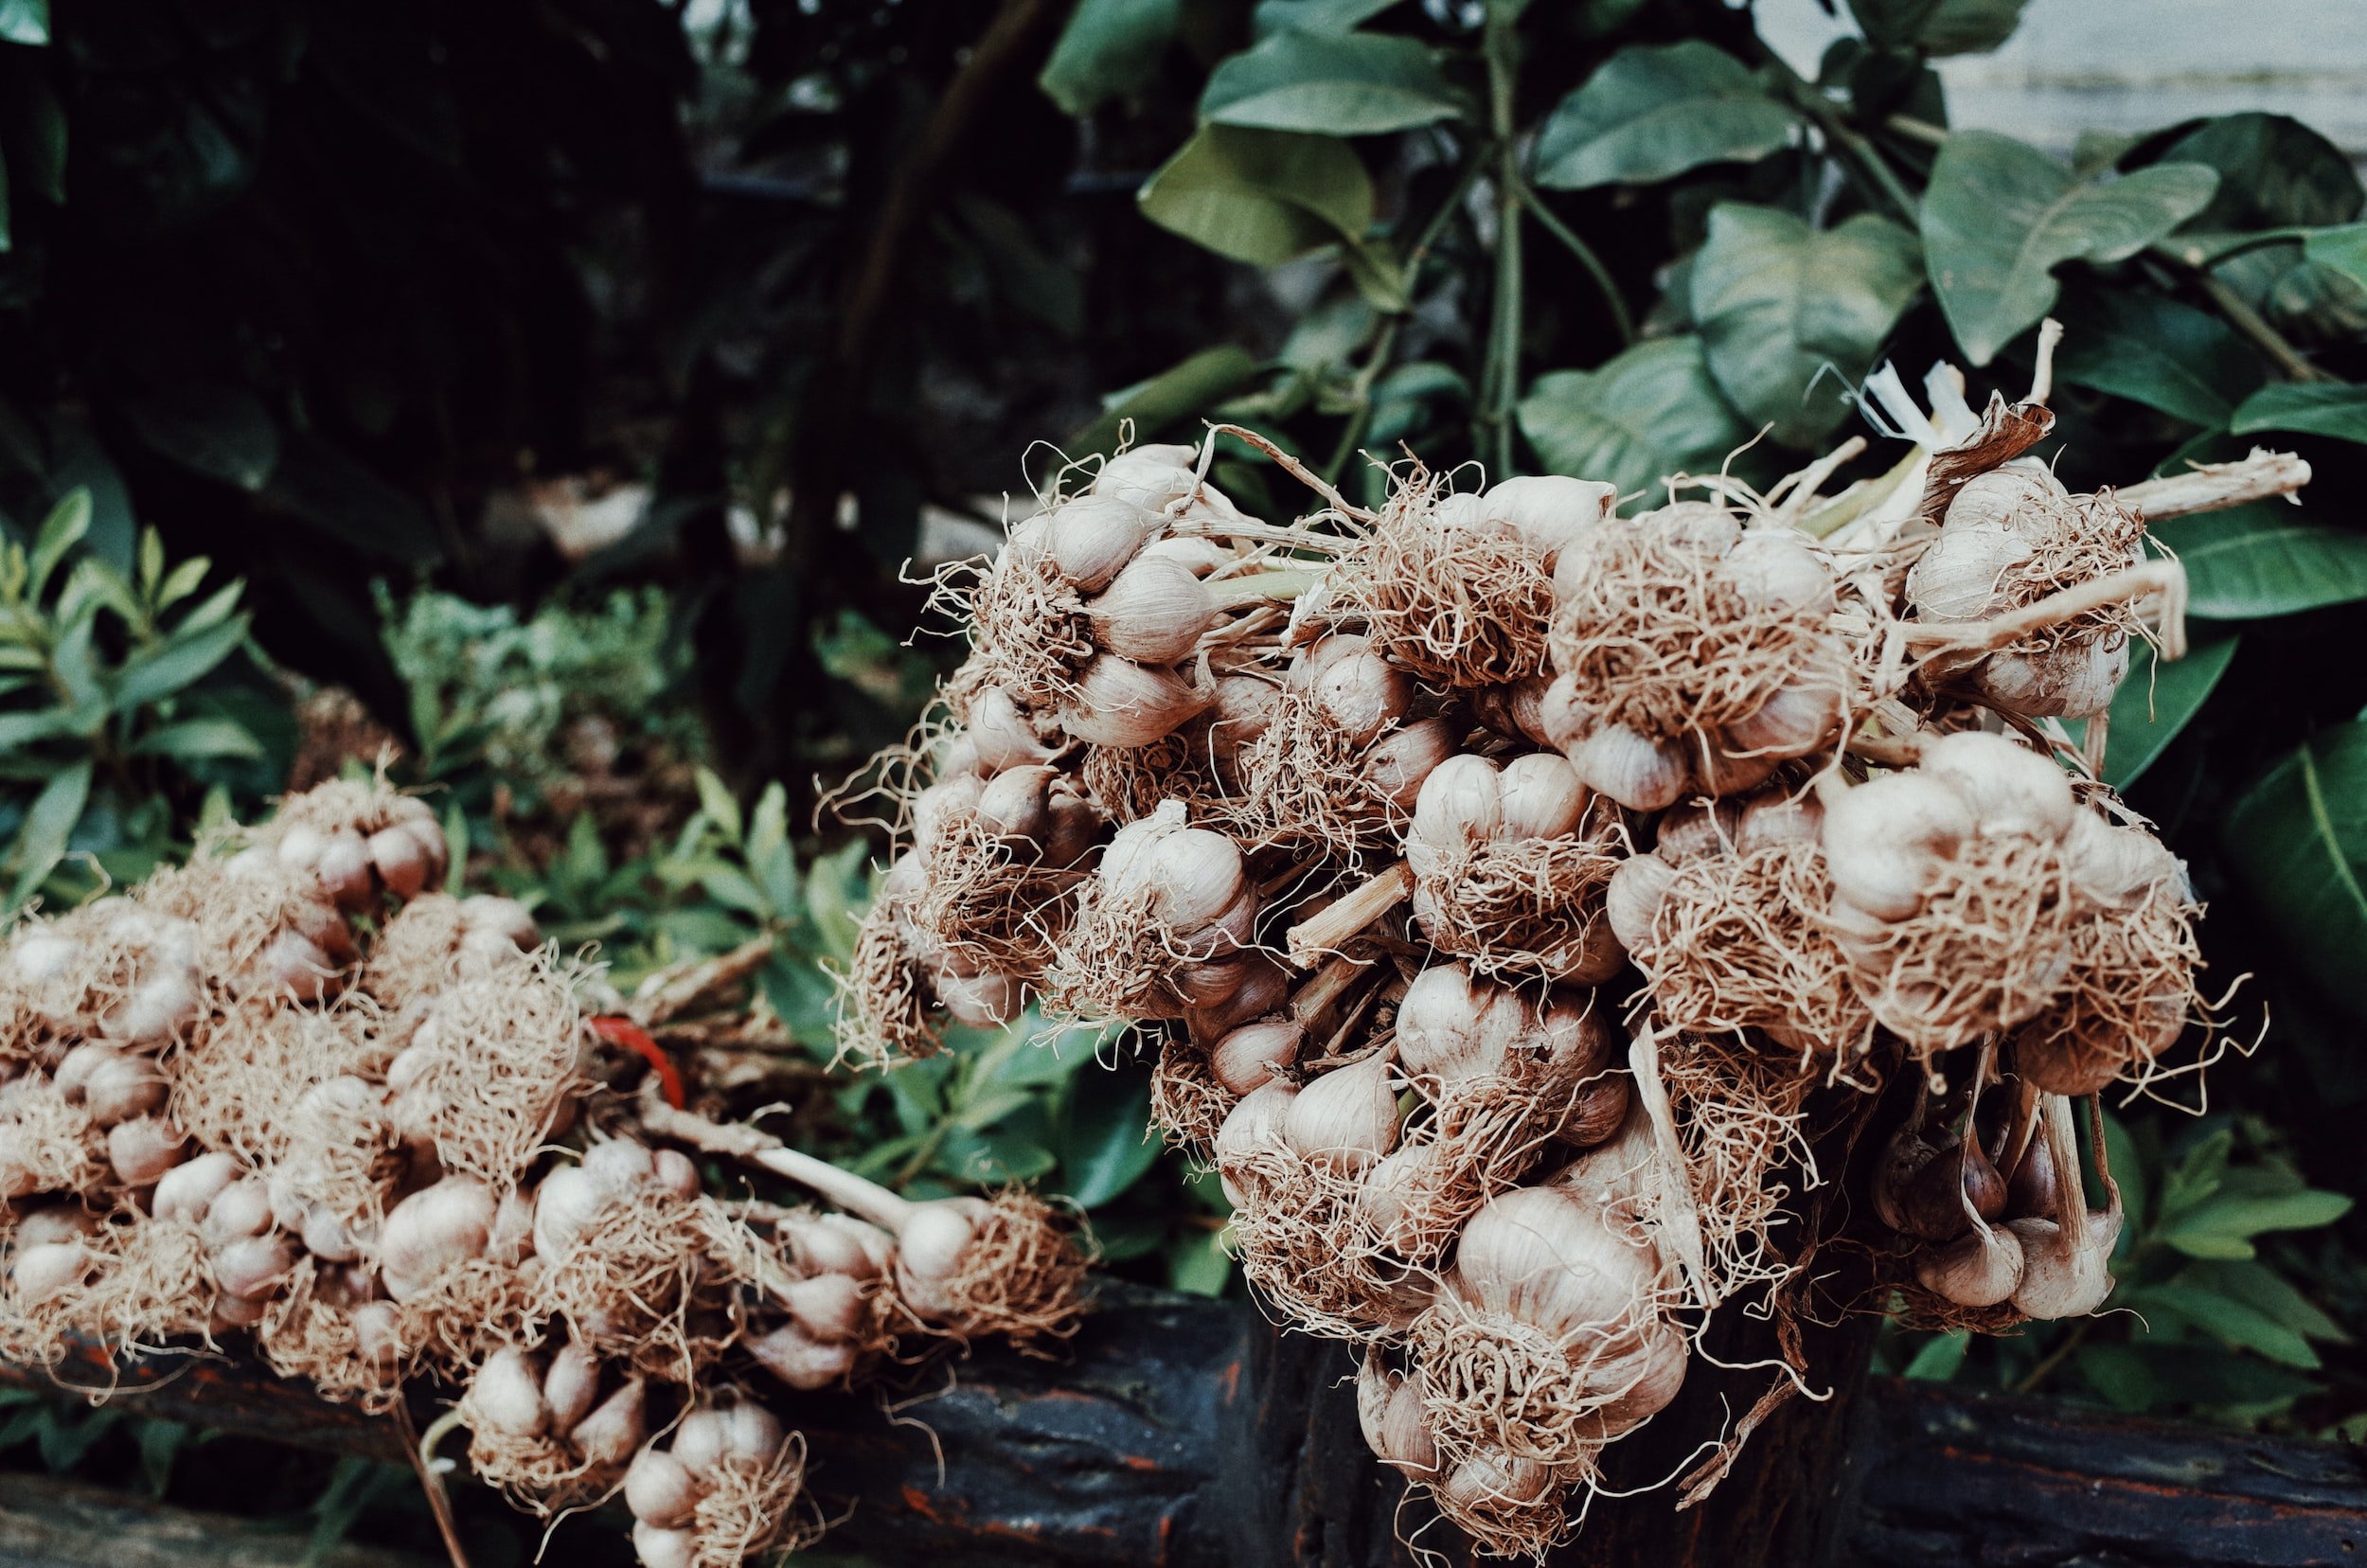
harvest
garlic can be harvested any time it is of sufficient size. to harvest at their maximum size & improve storability, a simple rule of thumb is to harvest bulbs when 2-3 of the bottom leaves turn yellow or 1/2 of the tops have fallen over. loosen the soil with a garden fork prior to removal to prevent bulb damage. brush off loose dirt & remove from direct sunlight. don’t divide bulbs until you are ready to plant or cook with them.
1-3lbs of planting stock should produce plenty of garlic for the average garlic-eating family with sufficient planting stock.
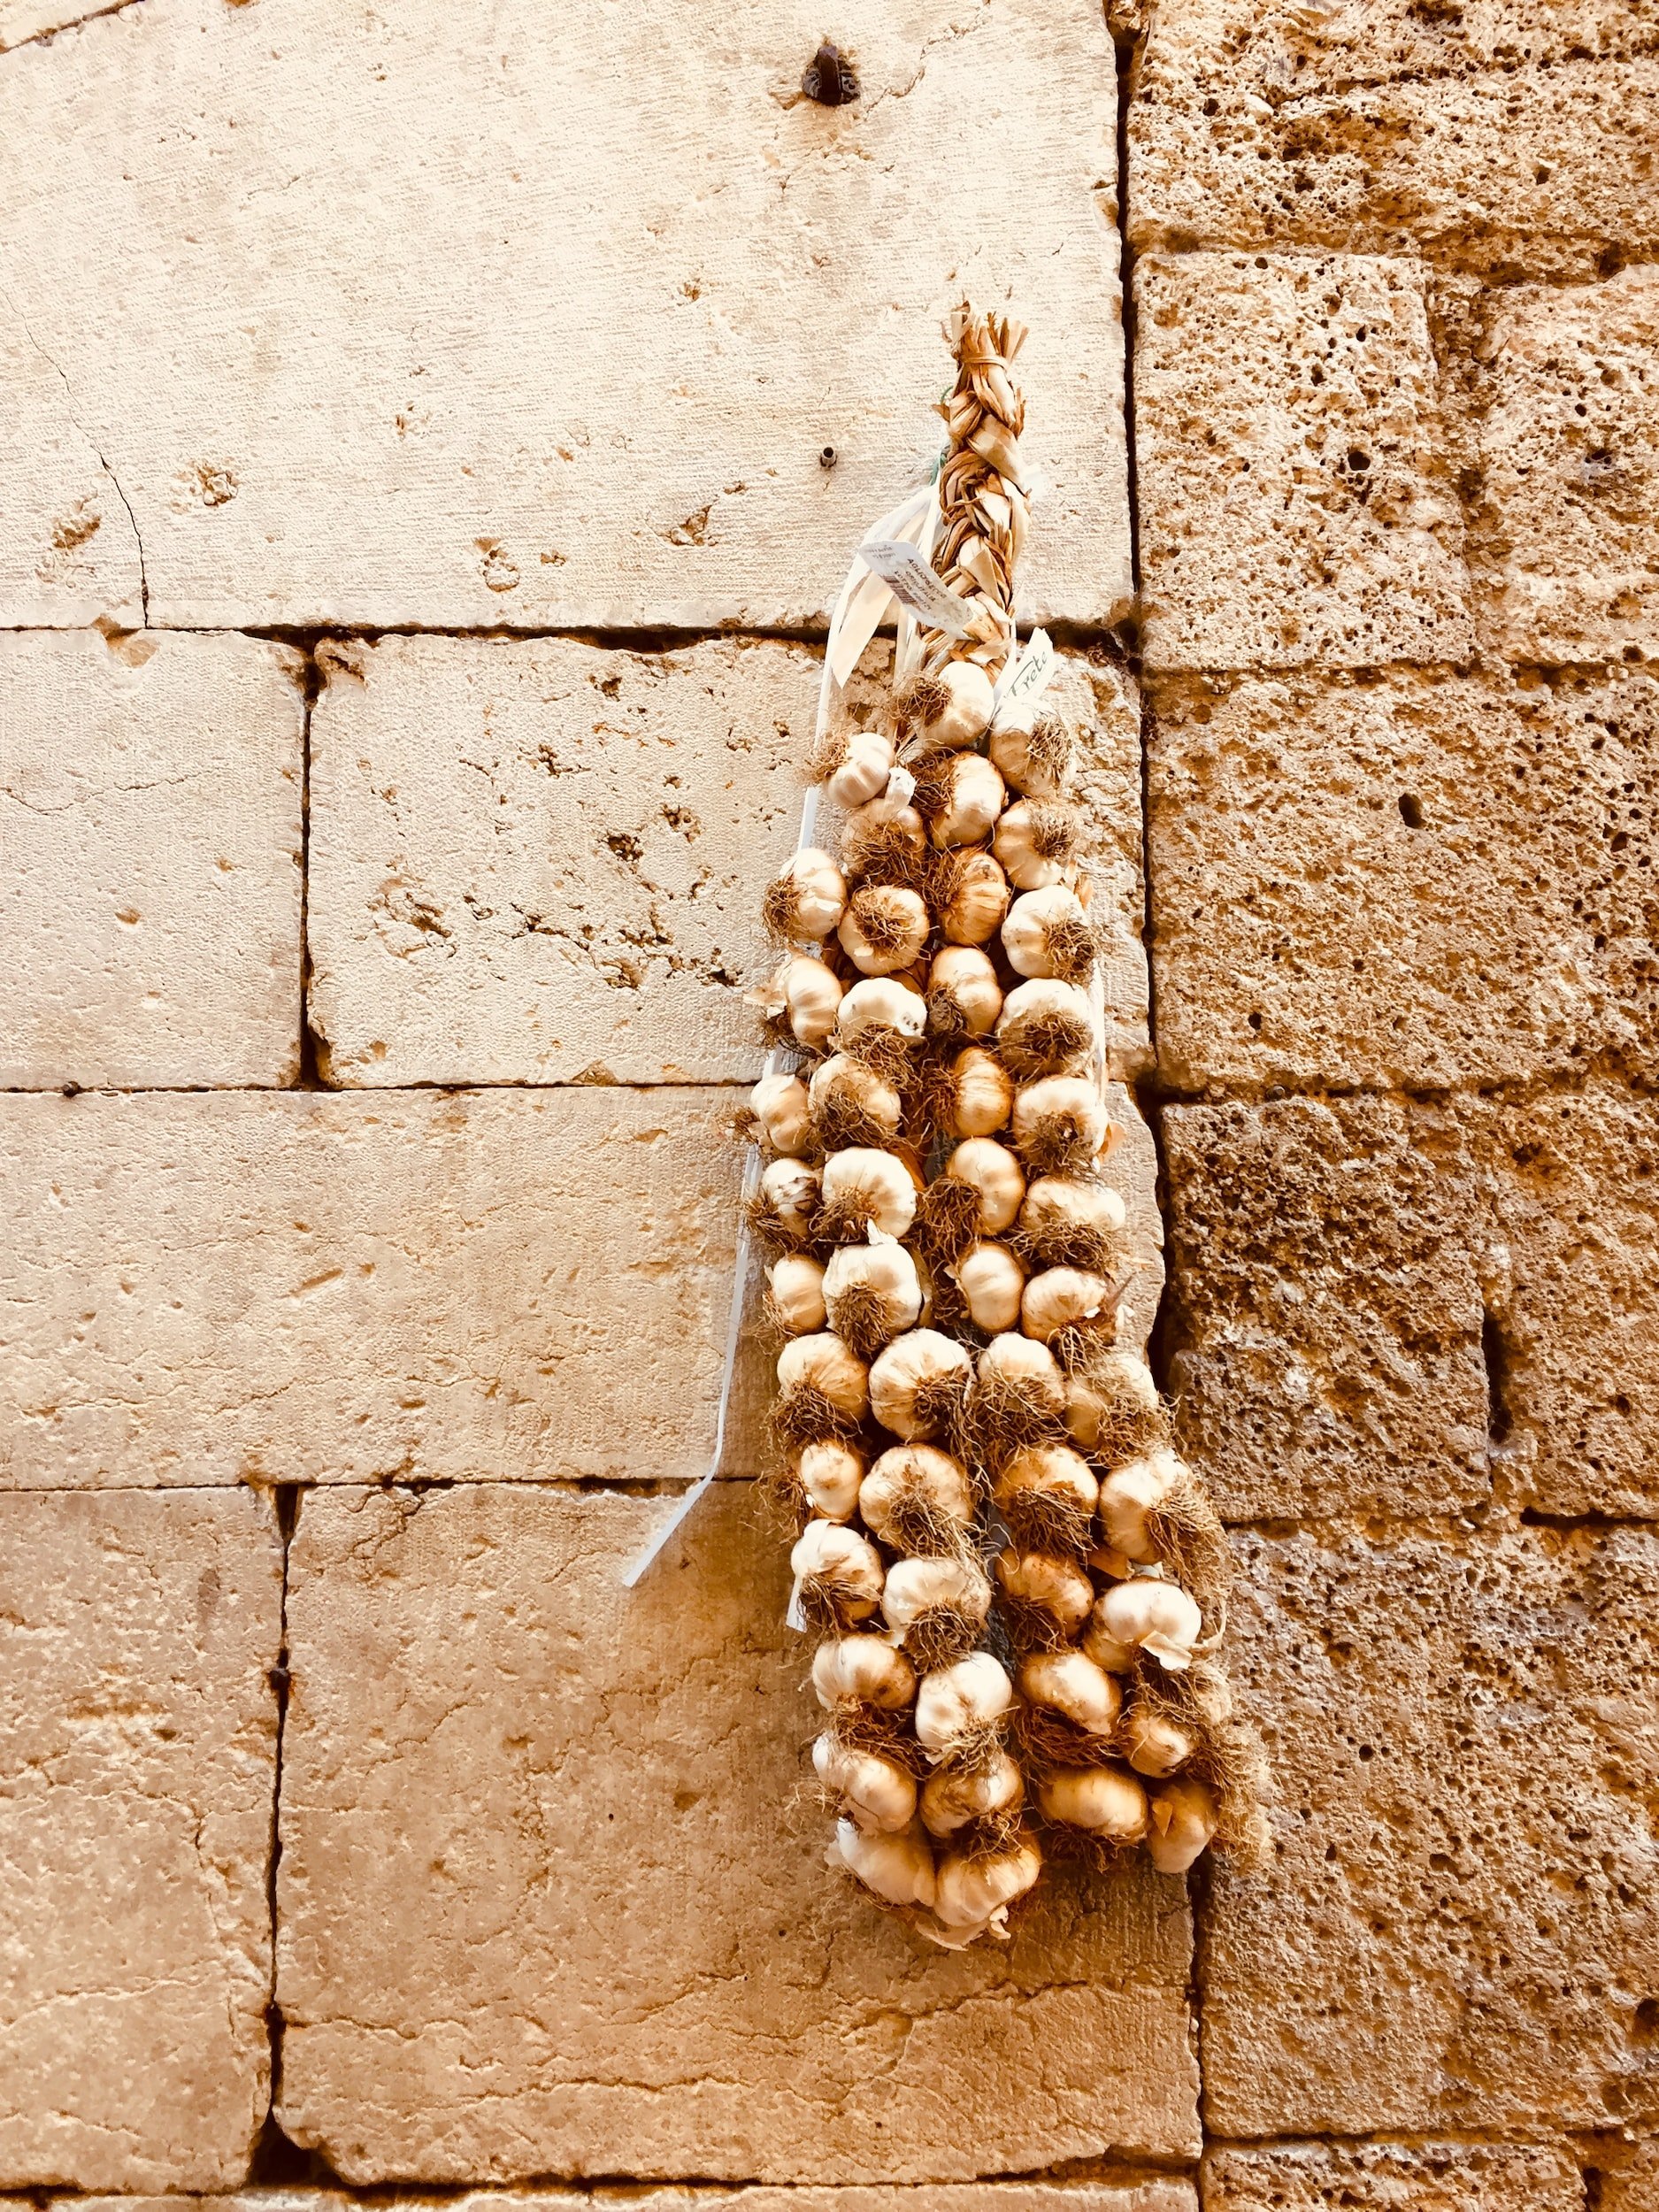
braiding
softneck varieties braid best and store well when braided. braid at the time of harvest while stems are pliable. start with 3 large bulbs on a flat surface. braid their leaves together, adding bulbs one at a time (such as french braiding hair). a little space between bulbs will make it easier to remove them as needed. tie off the end with raffia or twine to form a loop for hanging.
curing
place in a dry, cool, well-ventilated area away from direct sunlight for at least 2-3 weeks. after outer skins & tops have dried, remove root, excess dirt, & all but 2” of the stem. take care not to remove skin. store in a cool area (50º-60º) with low humidity, good air circulation & no direct sunlight. for next year’s crop, save medium to large size (2”+ diameter) bulbs for planting in fall.
heirloom varieties of garlic add unique and bold flavors to your favorite dishes. pick out the perfect variety that adds a piquant flavor, a mild creaminess, or something that’s perfectly well-rounded.