
sow like a pro : seed starting
know where your food comes from
grow the perfect veggies for your table and put the fresh back into dinner! the action begins in january & february and occasionally into march. it’s all in the timing to ensure sturdy plants for outdoor planting. all of the information you need is on the seed packet. just answer the following three questions, use a little math, and you’ll have your sow date.
germination time: how long it takes for seedlings to emerge
days to harvest: time from when sown until eating or admiring the fruits of your labor
frost free date: in kentucky, it’s easy to remember – the day after mother’s day
what you’ll need
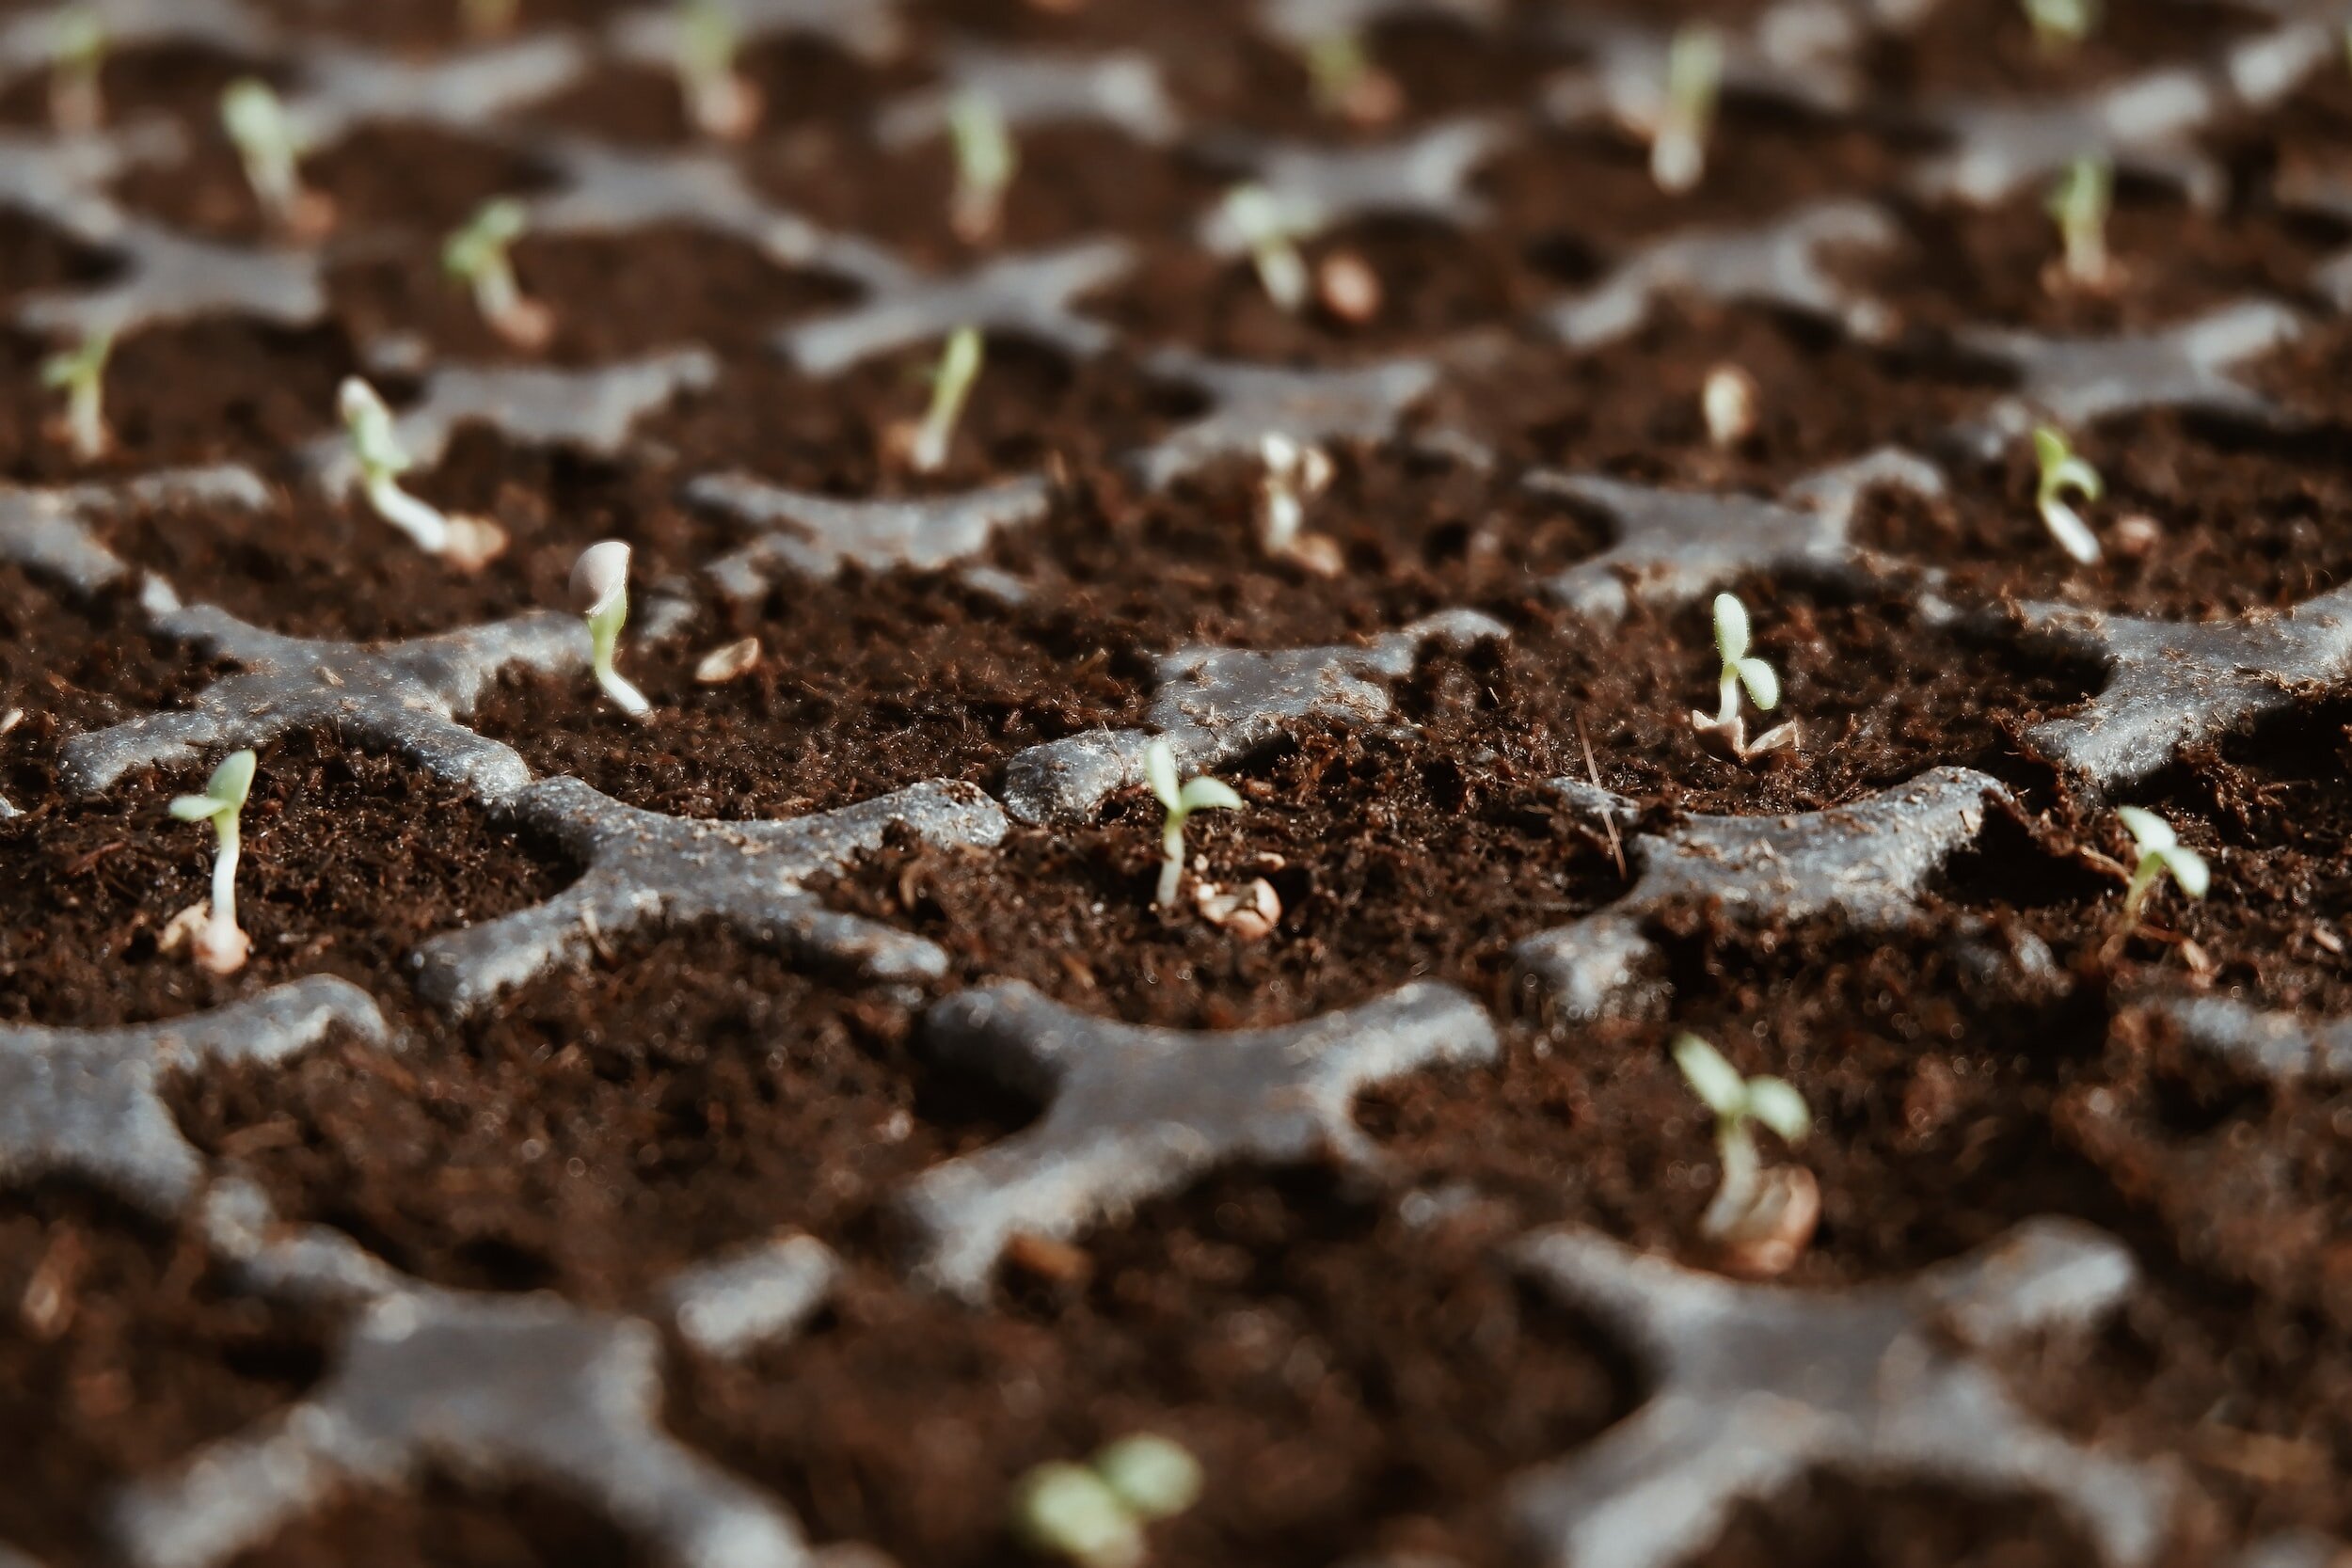
seed sowing tray, insert, and dome
peat-based potting mix (conventional: black gold all purpose – or certified organic: black gold natural & organic)
capping mix (used to cover seed after sowing – black gold seedling mix or vermiculite)
low nitrogen slow release fertilizer (conventional: monty’s joy juice – or certified organic: neptunes)
choosing the right flat
the smaller the cell, the sooner the plant will be ready for transplant. a 72-count tray is a good size for most seed starting, with cells at least 3” deep being the best. the timing from sow to transplant in a 72-count tray is:
perennial & annual flowers: 10-12 weeks
annual herbs: 8 weeks
perennial herbs: 10-12 weeks
vegetables (excluding squash and cucumbers): 7 weeks
with a little practice & record keeping, you’ll know exactly when to start seeding to get what you want, when you want. the good news is, sowing directly into a 72-count tray eliminates the need to “bump up” the seedling prior to setting in the garden.
choosing a growing spot
temperature: place the prepared flats on a heat source (the top of the fridge works great). there are also germination heat mats of various lengths. with a little care, you’ll provide the perfect “house warming” for your seeds. as a rule, the germination temperature that works for most plants is 70-75° F. if you are not using a heat mat, make sure the nighttime temperatures do not drop more than a couple of degrees. a significant temperature drop cold shocks the seeds, delaying germination. to keep track of temperature, a meat or cooking thermometer works well.
sunlight: placing supplemental light directly on the germination dome will improve germination & the seedlings will emerge sooner. specialty grow lights closely mimic the sun and don’t get hot, i.e. sunblaster. the light should be 6-8 inches above the soil & raised as the seedlings grow, always staying within 6-8” of the leaf canopy. a reflector should be used to disperse the “rays” across the trays evenly. it will also allow more trays to be lit by one light. a timer set for 12-hours makes it easy to monitor.
sowing
sow the seed trays and cover lightly with capping mix (seedling mix, perlite or vermiculite). wet the trays, taking care not to disturb the soil and return to the heat source. cover the trays with a plastic seed dome or even plastic stretch wrap. if trays are not in direct sun, keep the cover in place until plants begin to emerge. if in sun, remove before the soil temps get above 80°F and put the cover/wrap back on at dusk. having a thermometer really comes in handy. check moisture levels daily, making sure soil is wet on top. use warm water if available.
fertilization
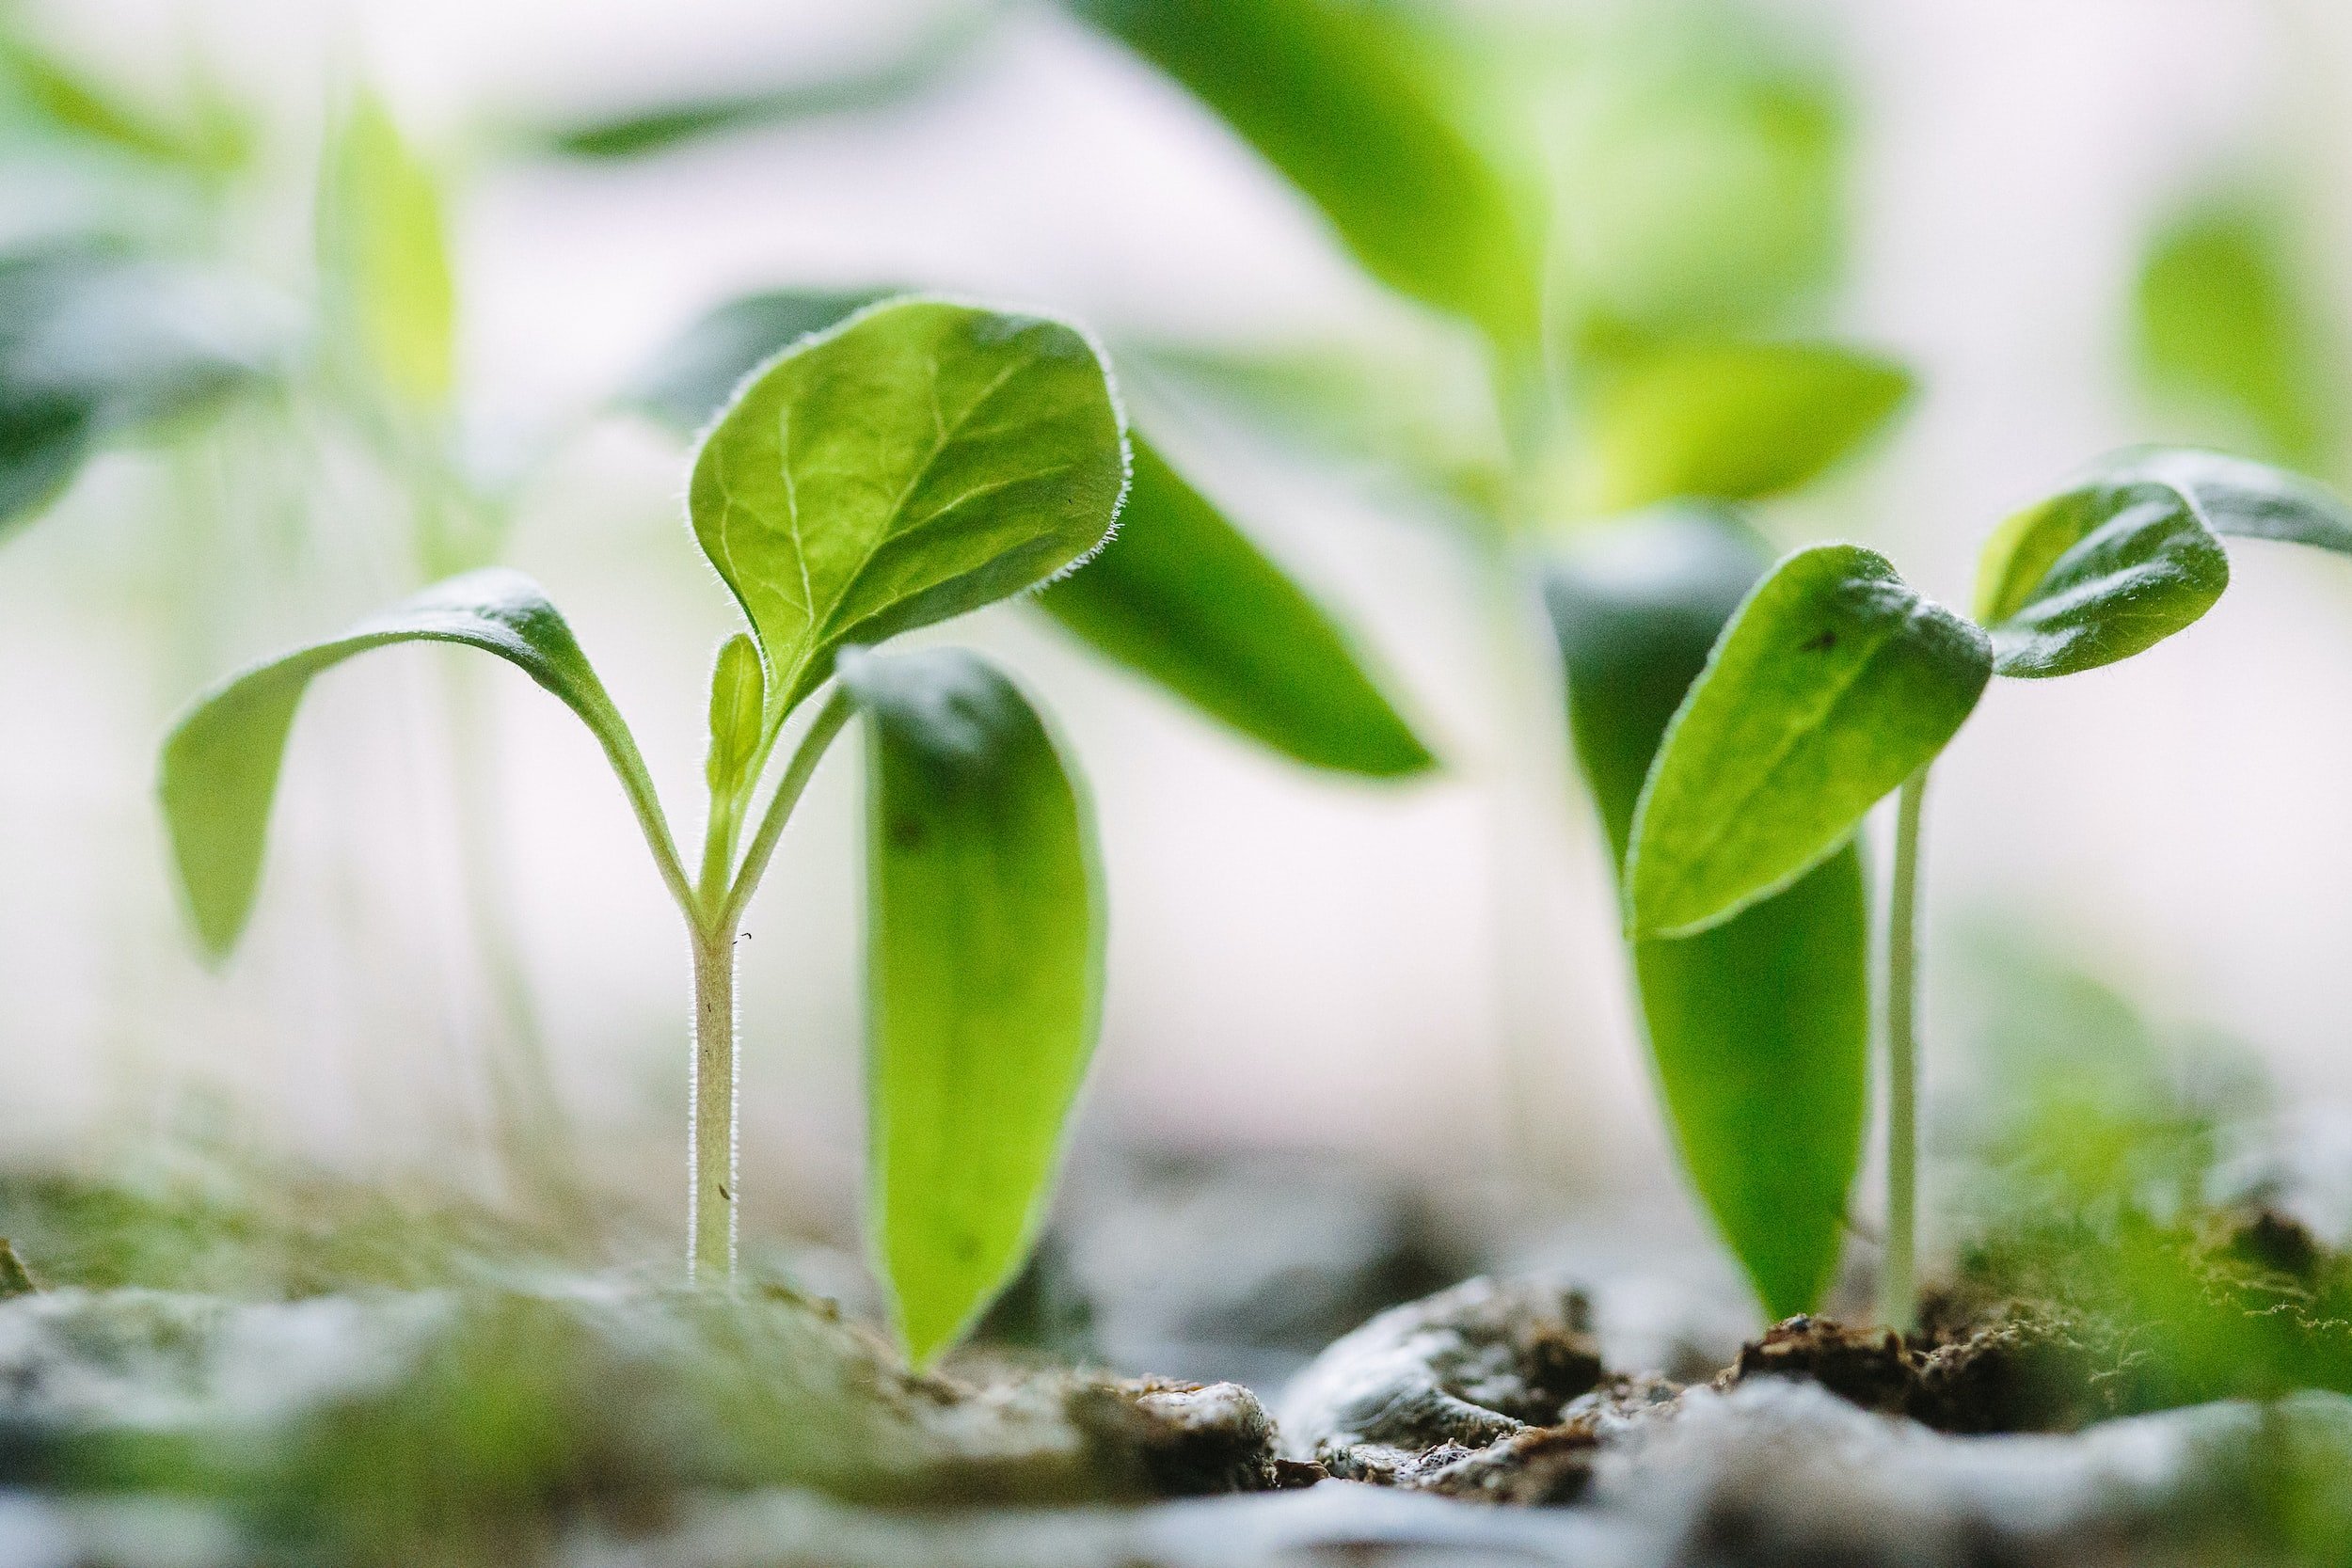
since plant roots emerge before the foliage, fertilizing provides the necessary nutrients to support strong seedling growth from their earliest days. if using a certified organic fertilizer, pick a day of the week to fertilize the seed trays. even if the trays have just been sown, fertilize to remoisten the surface and/or thoroughly water the seedlings. continue fertilizing weekly until transplanted into the garden. if choosing a conventional fertilizer, start fertilizing weekly with a low nitrogen variety four weeks after sowing if fertilizer is incorporated into seed starting mix. if no fertilizer is incorporated, start fertilizing once a week from sowing.
making the big move
four weeks after sowing, tomatoes and cole crops will be ready to “tuck in” or “bump up” depending on the number/size of cells. if there are more than 72 cells, “bump up” to larger pots; if fewer than 72 cells, “tuck in.” just push the stem of the plants down into the soil as if you were “bumping up” to a bigger pot.

tomato tricks
tomatoes can quickly progress from “just right” to weak and stretched. besides “tucking in”, there are a few techniques that can prevent stretching. the most common is proper water management. take care not to over water! give them room to grow. an oscillating fan to move air across the plants a few hours a day helps to strengthen the stem.
reading a seed packet
most seeds germinate fine with the above techniques but there are always exceptions! the primary difference is the amount of light required for germination. read carefully, most seed packets will instruct you about minimum requirements for germination. terminology can be different between companies, so here is our lexicon:
cover: use above technique
cover lightly: use perlite or vermiculite
cover very lightly: dust with medium to fine vermiculite
heavy cover: use dense mix, usually higher in bark and/or compost
press: use tip of finger to gently indent seed slightly into soil
sow & do nothing: this is usually how pelleted seed is done
starting your garden from seed is simple and easy. the hardest question is: what are you going to plant?